Tuesday, January 12, 2010

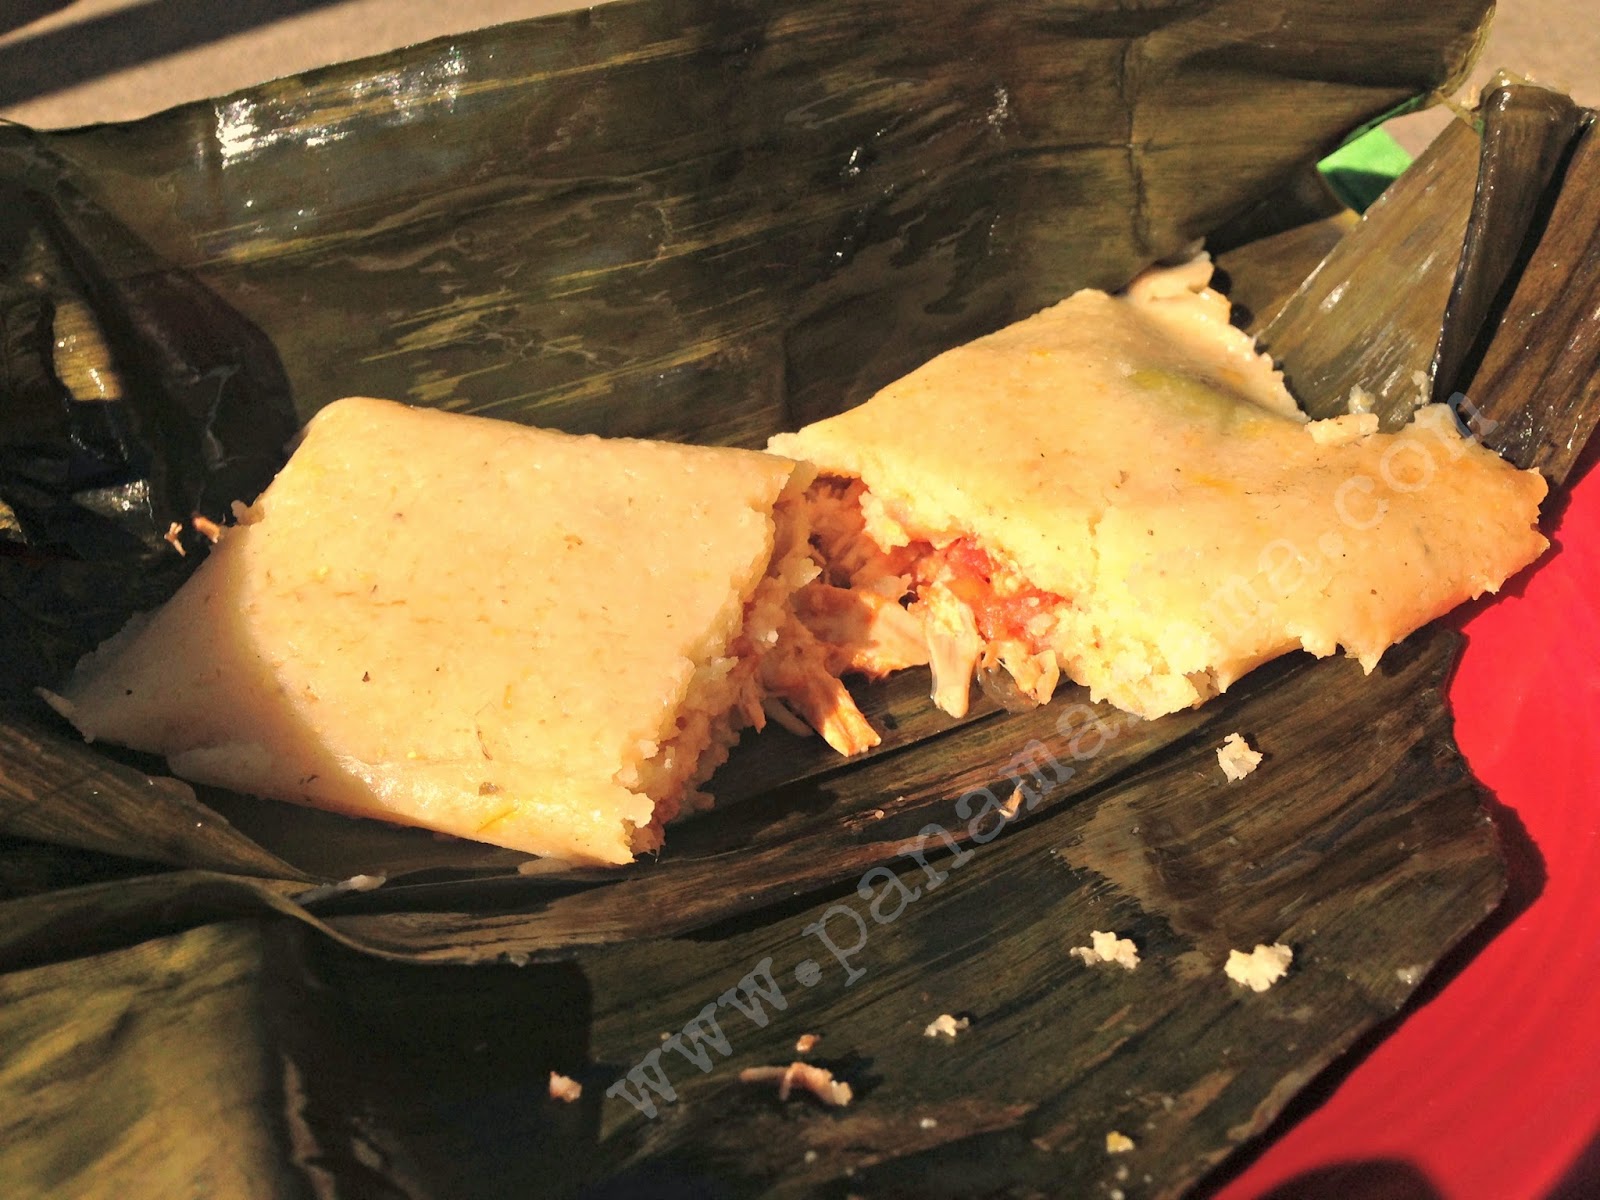
Panamanian Tamales!

I love, love, love, Panamanian Tamales. In Panama I don't remember having them often, mainly at Christmastime at friends homes. Now I know it's because in Panama most people make them from scratch, cooking and grinding the green corn.

I love to make them at Christmas or New Year's Eve. I freeze the leftover turkey and use that instead of chicken or pork for the filling and it is always good. This year I didn't get around to making them until this week, and that was with my sweet hubby prodding me to do them.
"Did you buy Masa yet?"
"What can I do to help?"
Guess he really wanted those tamales too.

I sort of follow this recipe from the Cooking Diva (Chef Melissa DeLeon's) website.
I never follow any recipe to the letter though, so here's sort of what I do:

Panamanian Tamales
Find some banana, bijao, or platanillo leaves. (NOT easy in Arkansas.) We can get them only at Christmastime at our local Mexican grocery store, but they aren't usually very fresh and I have to really clean and pick through them. Not to mention they are expensive. This is a major factor in good tamales though so without them I wouldn't attempt it. Gives it that special flavor!
*Note- I found out the "banana" tree I planted in my yard this year was a platanillo from a Mexican friend of mine. I let the frost kill it without harvesting the leaves, but next year I'll save some and make them right before the frost!

Masa part:
I don't do the grinding the green corn to make my own masa. Sorry. I am not a purist with this and just buy Masa from the grocery store. There are no directions on the bag, and Chef Melissa IS a purist and grinds her own corn, so I've made this part up over the years and it works really well.
  1. Fill your Kitchenaid bowl up pretty full with Masa (depends on how many tamales you're making.)
  2. Take at least one stick of butter (I used two- I like butter) and chop it up and using a fork or pastry cutter, cut it into the masa. Then I add about four tablespoons more or less of coconut oil (it's like shortening but better) or lard if you do that.
  3. Heat to boiling or almost boiling some vegetable broth or bouillon and add it to the mess in the bowl. Mix on low (because it will splash on you!) Add until the mixture is the consistency of playdough. Very soft but not sticky.
  4. I also add to this one small bag of cooked corn. Adds the sweetness.
  5. Then add 2 packets of Goya's Sazon, and salt and pepper to taste. If you can get culantro (not cilantro) add some here. We can't get it in Arkansas so I didn't use it.
  6. Mix, you will probably want to mix with your hands to make sure all lumps are encorporated.

Filling:


I use leftover turkey but you can use chicken, pork, or veggies also...
1 medium onion chopped finely
1 green pepper chopped finely
1 clove of garlic, minced
1 can of Muir Glen chopped tomatoes
3-4 Tablespoons of tomato paste
1-2 culantro (NOT cilantro) leaves if you have them chopped *I can't get them so don't do this.
but I do add a packet of Goya Sazon and 2-3 Tablespoons of Goya's Recaito, which seems to give it that flavor.
capers (I love capers)
1 can of tomato sauce or some tomato paste with water if you want (or you can just add broth here)
green olives (chopped or not, your preference)
handful of golden raisins or chopped prunes (if you want-very Spanish flavor if you do)
salt and pepper to taste
  1. Saute all of the above in a skillet with some olive oil until it looks yummy.
  2. Taste and add what you think it needs!

Construction:
Normally I struggle with wrapping these myself using old leaves which are fragile. My wonderful hubby helped this time and proved to be a better tamale maker than myself. Think he'll get the job from now on!
  1. Take a banana leaf (about a foot for a large tamale) and lay it flat on your work surface.
  2. Put a large dollop of the corn mixture in the mid-center of the leaf. Flatten this out to about the size of a slice of bread or bigger.
  3. Put a generous cooking spoon full of the meat filling in a line down the center of the corn mixture.
  4. Roll the leaf up gently. You'll have to roll one side up a bit, then fold in the ends and keep rolling up. (Like a burrito) Then tie with twine or string.
  5. Place these in a large pot (I use my canning pot with the jar rack covered with banana leaves) and cover the bottom with hot salted water. 
  6. Steam for one hour!
*Leftovers freeze very well. You can wrap in waxed paper and then put in a baggie or wrap with aluminum foil and just microwave one when you want one!

Monday, January 4, 2010

Cake!

This is what I came up with for that topsy turvy Alice in Wonderland like cake:


Tuesday, December 22, 2009

Liquid Dishwasher Soap

I am going to try this recipe for liquid dishwashing soap from naturemoms.com.
I have tried MANY recipes for natural dishwashing soap, and not had good results.
Hope that this one works!

Natural Dishwasher Soap Recipe

1/2 CUP LIQUID CASTILLE SOAP *do NOT use regular liquid soap!*
1/2 CUP WATER
1 TEASPOON FRESH LEMON JUICE
3 DROPS OF TEA TREE EXTRACT
1/2 CUP WHITE VINEGAR

COMBINE WATER AND LIQUID CASTILLE SOAP. STIR.
ADD LEMON JUICE, TEA TREE EXTRACT AND VINEGAR.
STIR UNTIL EVENLY BLENDED.
STORE IN A SQUIRT TOP BOTTLE.
USE 2 TABLESPOONS PER DISHWASHER LOAD.

CAUTION! DO NOT USE REGULAR SOAP IN PLACE OF CASTILLE, UNLESS IT IS LOW SUDSING SOAP..... OTHERWISE, YOUR DISHWASHER WILL OVERFLOW!

I'll let you know!


Saturday, December 12, 2009

Cakes?

Okay, two cakes in the making, brain is starting to work...

Cake 1-
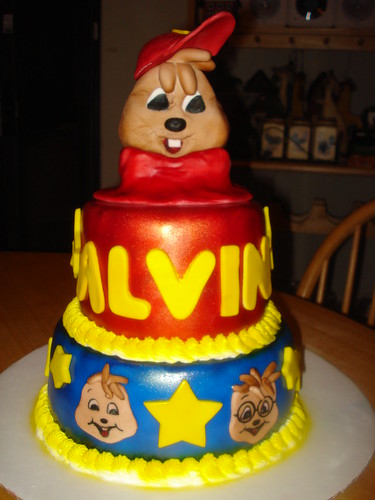
Jac wants an Alvin and the Chipmunks birthday (his birthday is Christmas Eve) and the movie comes out on the 23rd. So I reserved a party room at a theater.
Not sure on the cake... Movie cake or Alvin and the Chipmunks cake?

Cake 2-
I'm debating making this one...
A cake for 75 girls (my goddaughter's friend's sweet 16 party)
Three tiered Tim Burton style "Alice in Wonderland" cake
Could be fun, but for Jan. 2nd


Monday, December 7, 2009

Christmas Tree Food!


This is the recipe I use to "feed" my Christmas tree.
I got it online somewhere a long time ago but modified it to not use bleach.

How to Make Your Christmas Tree Fire Resistant
(and keep it living til 3 King's Day!)

Ingredients:
• 2 cups of Karo Syrup
• 2 ounces of vinegar
• 2 pinches of Epson Salt
• ½ teaspoon of Borax (some recipes also call for 1 teaspoon of chelated iron which you can get at a pharmacy or garden store- I've never used it though.)
• 2 ground up aspirins
• Hot Water

Procedure:
1. With a saw, make a fresh cut at the base on the tree trunk. Cut off at least an inch and try to make a flat or level cut.
2. Immediately after cutting the base off the tree, mix the fireproofing ingredients listed above. Fill a 2-gallon bucket with hot water to within 1 inch of the top and add the ingredients. Stir thoroughly.
3. Stand the trunk of the tree in this solution and leave for 24 hours.
4. Every day, without exception, fill up the well of the tree-stand with the fireproofing solution.

How this procedure works:
The Karo Syrup provides the sugar necessary to allow the base of the tree to take up water. The tree may take up to 1/5 gallons of water over a two-week period. Boron in the Borax allows the tree to move the water and sugar out to every branch and needle in the tree. Magnesium compounds in the Epson Salt and Iron from the Chelated Iron provide essential components for the production of chlorophyll that will keep the tree green. The vinegar keeps mold from forming in your solution. This fireproofing procedure will also help prevent the needles from dropping and will increase the natural fragrance of the tree.

They say you can try to light a branch once it's sat for 24 hrs and it won't catch on fire! I love that it does keep my tree nice and green until I want to take it down after New Year's.

LinkWithin

Blog Widget by LinkWithin